Board & Batten Calculator
Floor to ceiling, baseboard included.
Leave it on and the rail sits on top. Take it off and the rail sits flat at the floor. Put it back over and the rail runs low, behind the baseboard.
144″ × 96″
Every board on the drawing, every board on the list.
What the plan actually contains
Three sheets, redrawn from the measurements above as you type. What they show is what the designer opens with.
144″ × 96″
| # | Shape | Piece | Long pt | End cuts |
|---|---|---|---|---|
| 1 | frame rail · 2 1/4″ wide | 144″ | SQ / SQ | |
| 2 | frame rail · 4″ wide | 144″ | SQ / SQ | |
| 3 | vertical | 57 3/4″ | SQ / SQ | |
| 4 | vertical | 57 3/4″ | SQ / SQ | |
| 5 | vertical | 57 3/4″ | SQ / SQ | |
| 6 | vertical | 57 3/4″ | SQ / SQ | |
| 7 | vertical | 57 3/4″ | SQ / SQ |
Every length is long point — read it straight off the saw.
144″ × 96″
- 1. CHECK THE WALL.
- 2. GATHER MATERIAL.
- 3. READ THE NUMBERS.
- 4. CUT AND LABEL.
- 5. LAY OUT THE WALL BEFORE YOU INSTALL.
- 6. INSTALL IN NUMBER ORDER.
- 7. FASTEN.
- 8. IF A PIECE RUNS LONG.
- 9. FINISH.
Start at #1 and count up — the order is the plan.
Get my board and batten plan → More controls, obstacles and openings, and the finished PDF — free for board and batten.
Want it installed?
- Expert Crown Moulding builds accent walls
- Twenty years of trim carpentry
- Free estimate
See your wall in another style
Every one of these is drawn for your wall the same way. Your width and height come along.
Design free. Pay for the plan.
- Board & Batten
- Shaker Feature Wall
- Panel Moulding
- Picture-Frame Wainscoting
- Shaker Wainscoting
- The eleven geometric patterns
- Scaled elevation, every board numbered
- Full cut list, long point, to the sixteenth
- Numbered install order with build steps
- Print-ready PDF, no watermark
Design free in every style. You only pay when you want the plan printed.
Real walls, built from these plans
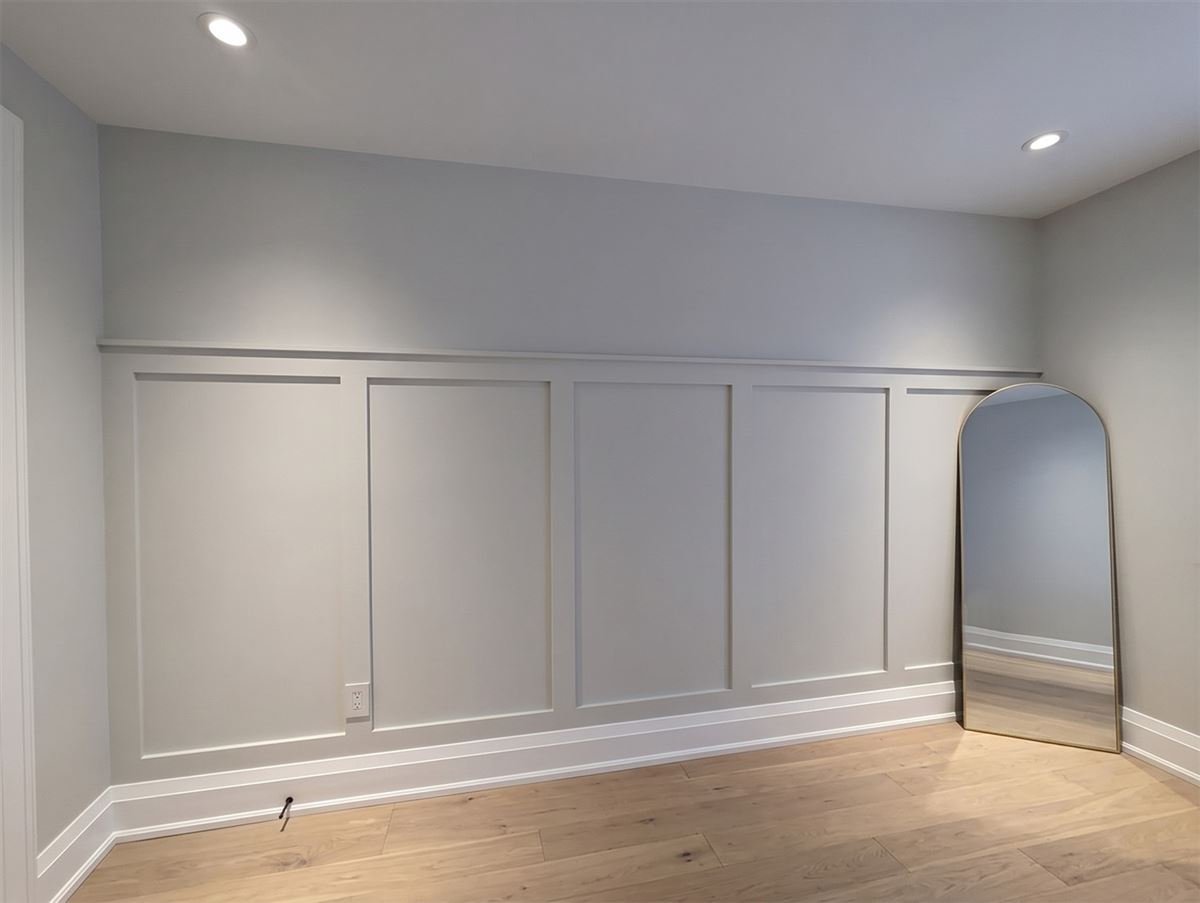
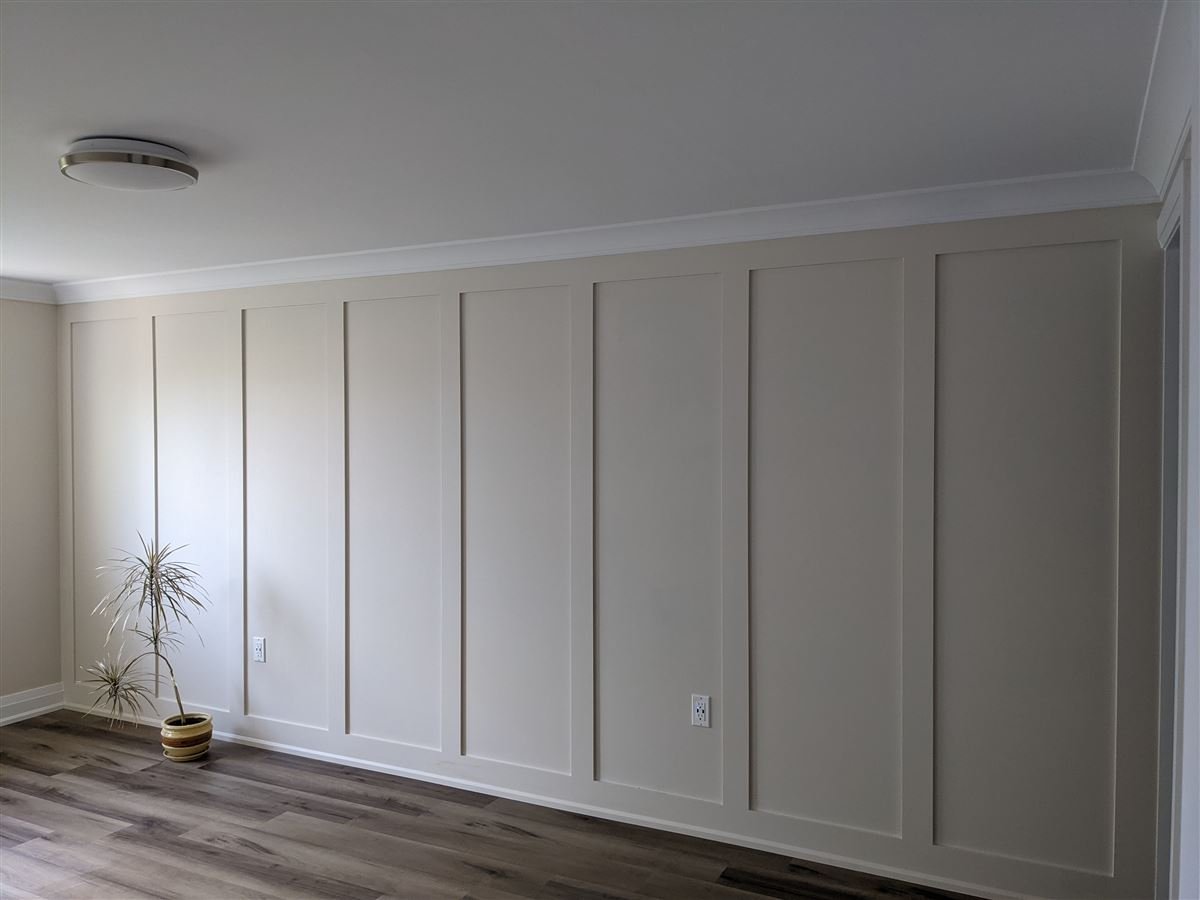
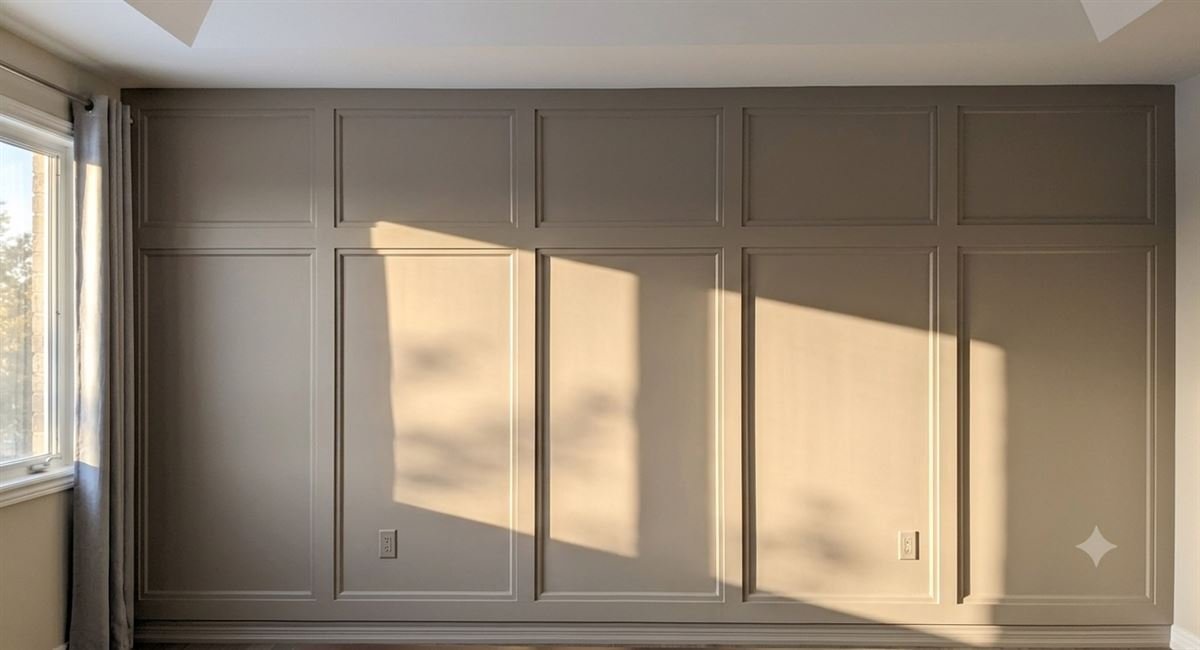
How to build it
Interior board and batten is the cheapest trim work that genuinely changes a room: narrow vertical battens run over flat drywall at even spacing, a rail across the top, usually another down at the floor. The cutting is straightforward. The spacing is the part people get wrong, and it is the part the calculator above does for you.
What to buy, and what to cut it with
Two ways to get the material. Which one you pick comes down to whether you own a table saw.
Rip your own. A 4x8 sheet of MDF, ripped into strips on a table saw. It is the cheaper route and it gets you any width you want, including widths nobody stocks. If you do not own a table saw, Home Depot and Lowe's will make basic straight cuts for you. That is worth knowing for a second reason. Strips fit in a car. A 4x8 sheet does not.
Buy pre-milled trim. Ready stock off the rack, already the right thickness and already sanded. It costs more per foot and it saves you the ripping. For one wall that difference is small, which is why plenty of people just buy the boards.
Then measure what you bought. The width on the label is not always the width. Softwood is sold nominal: a board called 1x4 measures 3½″ across, and a 1x3 measures 2½″. MDF trim is usually sold at its actual size, so a 3″ batten is 3″. Usually is not always, stock changes from store to store, and an exact width is often not on the shelf.
So the order is: buy the material, put a tape on it, then type that number into the box above. Not the other way round. Measure the face, on a piece you are actually going to cut, and use what the tape says.
That is why the boxes take literal inches and there is no list of stock sizes to pick from. A list is a guess about what you came home with. The tape is not. Put the real number in and the plan comes back cut to the boards in your hands.
Tools. Short list, and half of it is optional.
- A table saw, to rip a sheet into strips. Only if you are ripping your own. Skip it if you buy pre-milled.
- Something to crosscut with. A mitre saw is faster and squarer; a hand saw and a mitre box does the same job slower. Every cut on this wall is square, so there are no angles to set.
- A brad nailer and 2″ 18-gauge brads. MDF is dense enough that a hammered nail bends and mounds the fibre up around the hole, which is why the nailer is not a convenience on this material. In pine a hammer and finish nails still work, and cost you more filling.
- A four-foot level. A laser is easier on a long rail.
- Tape, pencil, and the gauge stick from the section below.
- Construction adhesive, for battens that miss a stud.
- Filler, caulk, sandpaper, primer and paint. This is the part that takes the time.
Where the spacing comes from
Take your wall width. Subtract the width of every batten you're putting up. What's left is the total open space, and you divide that by the number of gaps.
The number almost never lands on something round. A 137″ wall with 3½″ battens gives you gaps like 15 9/16″, not 16″. People see that and think they measured wrong. They didn't. The wall is 137″ and it doesn't care what looks tidy.
Don't round it to 16″. Every batten drifts a little further from where it belongs, and by the far end there's a sliver of space left over, half the width of the others. That sliver is what makes a wall look homemade. Nobody can name what's wrong with it, everybody sees it.
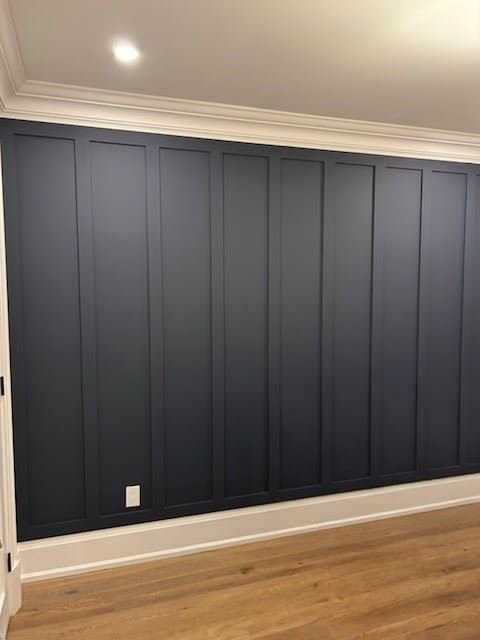
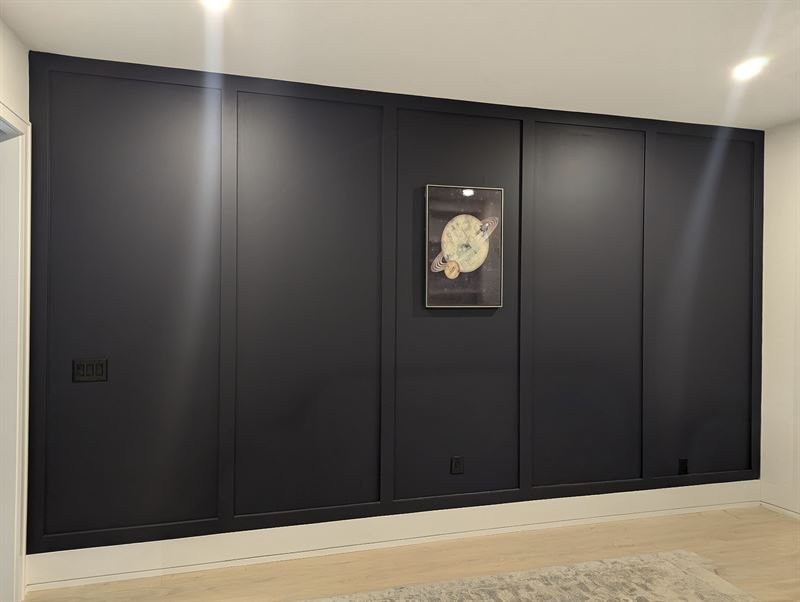
Don't measure twelve times, make a gauge
There is always one more batten than there are gaps. The end battens sit flush to the walls, so the wall's two ends are not gaps.
Cut a scrap of your batten stock to the length of your gap. Same width as a batten, so you've got one stick that does both jobs.
Stand it up against the left wall like a batten and mark the right side of it on the rail. That's your first batten. Now lay it flat on its side, left end at the mark, and mark the right side again. That's your first gap. Stand it back up, line the left side up with that mark, mark the right. Batten, gap, batten, gap, all the way across.
No tape after the first cut, no chance of misreading a fraction twelve times in a row, and you can see it landing correctly as you go.
The last gap usually drifts a little. Half an inch off is normal and nobody will ever see it. Some carpenters pull the run and redo it until it's perfect, but on a painted wall it isn't worth the time.
Where the top rail goes
About two thirds of the way up. On a standard 8' ceiling that's 64″ off the floor, and anywhere from 55″ to 60″ reads fine too. It's a proportion, not a fixed number, so on a 9' wall it climbs with the ceiling.
Follow the floor, not the level
Floors aren't flat. If yours drops an eighth over four feet, run the wall with it: bottom rail follows the floor, top rail parallel to it, battens all the same length.
Set it dead plumb instead and you get a wedge of open drywall at the bottom that gets wider as it goes. Everyone sees that. Nobody sees an eighth of slope, because the eye reads the wall against the baseboard and the ceiling, not against gravity.
If your floor is out more than an inch, you've got a floor problem, not a batten problem.
Scribing the bottom rail to the floor is the proper fix. Slower job, needs a compass and a jigsaw.
What happens at the bottom
Three ways, and it comes down to how much work you want to do.
Rail on top of the baseboard. The base stays, a rail sits on top of it, battens run down to that rail. Least work, no demo, and it's what most people do.
Rail at the floor, base back on after. Pull the baseboard, run a low rail at floor level, battens down to it, then reinstall the baseboard over the rail. More work, and the battens read as running all the way down.
Flat rail, no baseboard. Base comes off and doesn't come back. A flat rail at the bottom does the baseboard's job. Cleanest look, and you're committed.
Dry fit before you nail
Hold every piece up on the wall before any glue or nails go in. Rail first, then the battens, in the order you plan to install them.
This is where you find out the floor is out, or that a cut ran long, while it still costs nothing to fix. After it is nailed and glued, the same discovery costs you the piece and the drywall paper behind it.
Read the joints. A gap you can barely get a fingernail into is a caulk problem, and you carry on. A gap you can see across the room means recut. If a piece has to be forced into place it is long: take it back to the saw, or sand the end down, because a batten driven in tight bows off the wall in the middle.
Caulk before you prime
Fill the nail holes, sand flush, then caulk every joint where wood meets drywall and every place two boards meet. Thin bead, smooth it with a damp finger while it's wet.
This is the step that separates a finished wall from a homemade one, and it happens before primer, not after. Caulk over paint stays visible forever.
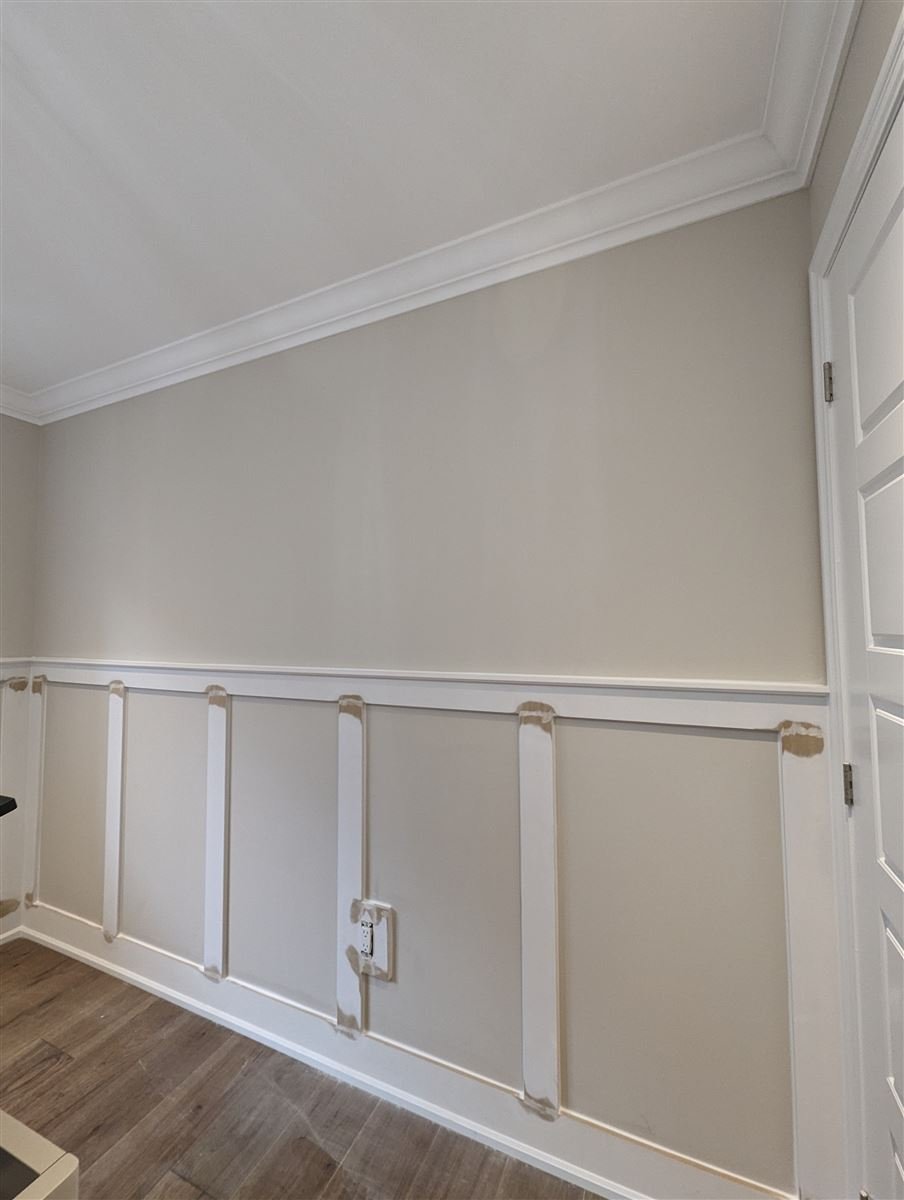
Where interior board and batten comes from
Outside, on a barn or a shed, board and batten is a way of closing a wall. Wide boards run vertically, edge to edge, and a narrow strip — the batten — covers each seam where two of them meet. Wood moves with the weather. Those joints open in the dry and close in the damp, and the batten is what keeps the gap from turning into somewhere the rain gets in. Every part of it is doing a job.
Indoors, none of that is true. Drywall arrives in sheets and gets taped flat, so there are no seams to cover and nothing moving that needs covering. What came inside was the look, not the work. On most interior board and batten walls there is no board at all — just battens, run over a flat wall, with a rail across the top and usually one along the bottom. The name outlived the reason for it, which is worth knowing mainly so the parts stop sounding like they mean something: the battens are trim, and they are holding nothing up.
That is also why it goes almost anywhere. It carries no load and hides nothing structural, so all it asks for is a wall that is reasonably flat. Entry halls, stairwells, a dining room, the wall behind a bed. It pays for itself on walls people actually look at, and it is wasted behind a sofa.
Whether it reads traditional or modern is almost entirely in the details rather than the technique. Wainscot height with a capped rail, wider battens, and trim painted lighter than the wall is the traditional read; put moulding inside each bay and it goes further that way again. Full height, narrower battens, no cap, and everything — wall, battens, rail, baseboard — in one colour is the modern one. The cuts are the same either way. The saw does not know the difference.
Common questions
How wide should the battens be?
Two and a half to three and a half inches is where almost everyone lands, and the number that matters is the actual face width, not the name on the rack. Primed MDF trim is sold at the width it says; softwood is not — a board sold as 1x4 measures 3½″ across.
At 2½″ the battens read light and modern and put more of them on the same wall. At 3½″ they read more traditional and cost less per wall, because you need fewer of them. 4½″ reads farmhouse and wants a big wall. On a wall under ten feet, 2½″ keeps it from looking heavy.
How many battens do I need?
Pick the count that lands your gap somewhere between 12″ and 20″. On a 137″ wall with 3½″ battens, eight battens gives you seven gaps of about 15 9/16″, which sits in the middle of that range.
Fewer battens and wider gaps read calmer. More battens and narrower gaps read busier, and cost more. There is no rule past what looks right on your wall, so put your own width in the boxes above and see what each count actually gives you.
Do I need construction adhesive, or are nails enough?
Nails alone are enough where you are hitting studs. Where you are not, use adhesive and nails together.
Each one covers the other's failure. Nails into drywall alone hold loosely, because the drywall crumbles at the holes and the board works its way off the wall. Glue alone leaves a gap wherever the board does not sit flat, and no board is flat everywhere. Together the nails pull it flat while the glue cures, and the glue carries what the nails cannot.
The cost is that the wall stops being reversible: taking adhered battens off tears the drywall paper with them. If this is a rental, or you think you might change your mind, lay the battens out to hit studs and skip the glue.
MDF or pine?
MDF for a painted wall, nearly every time. It is dead flat, it has no knots to bleed through the paint, the edges take paint cleanly, and it costs less.
Pine is the better answer in two cases: a bathroom or anywhere else that gets steam, because MDF swells if water reaches a cut edge, and any wall you plan to stain instead of paint. Primed MDF costs a little more than raw and saves you a coat.
Can I do this on a textured wall?
Yes, and there are two honest ways. Skim coat the wall flat first, which is the proper job and adds a day plus sanding. Or run the battens over the texture and caulk the gap down both edges of every piece, which is what most people do and what nobody sees from three feet away.
Knockdown and orange peel disappear under caulk. Popcorn and heavy swirl do not, and those need skimming.
What do I do about outlets and switches in the middle of the wall?
Lay the battens out around them first, then space everything else. A batten notched around an outlet box always reads as a repair, so the thing to avoid is one landing on top of a box.
If one wants to, you have three moves: shift the whole layout an inch or two so the gaps still read even, let that single gap run a little wider than its neighbours, or fit a box extender and bring the plate out flush with the batten face. The first is invisible and the easiest.
What happens when the wall has a window in it?
Treat the casing as the edge of two smaller walls and space each side on its own. Battens that die into the side of a casing look intentional. Battens that stop an inch short of one look like you ran out of wall.
Under the window, run short battens from the sill down to the bottom rail at the same spacing as the wall beside it, as long as two of them fit. If they do not, leave the space under the window open rather than cramming in one lonely batten.
How long does one wall take?
A weekend, if it is your first. Cutting and nailing is the fast part and it is done in an afternoon. Filling, sanding, caulking and two coats of paint is the rest of it, and that is the part people underestimate.
Rushing the filling and the caulk is the one reliable way to end up with a wall that looks worse than the flat drywall it covers.
What does the material cost?
For a twelve foot wall at eight feet tall, figure eight to ten battens plus a top rail. In primed MDF that is roughly $80 to $120 Canadian at 2026 prices, plus caulk, filler and paint. Pine runs about half again as much.
The rail is usually the single most expensive piece because it is the longest, and it is worth buying one clean length rather than joining two short ones over a wall everybody looks at.