Panel Moulding Calculator
Floor to ceiling, baseboard included.
Empty lets the calculator pick the count.
Needs an odd column count; the others split the rest.
The boxes start one gap above the baseboard and stop one gap below the ceiling. On two or three rows the bottom row takes the height you set and the rows above split the rest evenly. The baseboard stays on the wall; the frames never touch it.
144″ × 96″
Every stick on the drawing, every stick on the list.
What the plan actually contains
Three sheets, redrawn from the measurements above as you type. What they show is what the designer opens with.
144″ × 96″
| # | Shape | Piece | Long pt | End cuts |
|---|---|---|---|---|
| 1 | panel moulding | 44″ | 45° / 45° | |
| 2 | panel moulding | 84 1/2″ | 45° / 45° | |
| 3 | panel moulding | 44″ | 45° / 45° | |
| 4 | panel moulding | 84 1/2″ | 45° / 45° | |
| 5 | panel moulding | 44″ | 45° / 45° | |
| 6 | panel moulding | 84 1/2″ | 45° / 45° | |
| 7 | panel moulding | 44″ | 45° / 45° | |
| 8 | panel moulding | 84 1/2″ | 45° / 45° |
… and 4 more pieces on the real sheet.
Every length is long point — read it straight off the saw.
144″ × 96″
- 1. CHECK THE WALL.
- 2. GATHER MATERIAL.
- 3. MEASURING ANGLED PIECES.
- 4. CUT AND LABEL.
- 5. INSTALL IN NUMBER ORDER.
- 6. FASTEN.
- 7. IF A PIECE RUNS LONG.
- 8. FINISH.
Start at #1 and count up — the order is the plan.
Get my panel moulding plan → More controls, obstacles and openings, and the finished PDF — free for panel moulding.
Want it installed?
- Expert Crown Moulding builds accent walls
- Twenty years of trim carpentry
- Free estimate
See your wall in another style
Every one of these is drawn for your wall the same way. Your width and height come along.
Design free. Pay for the plan.
- Board & Batten
- Shaker Feature Wall
- Panel Moulding
- Picture-Frame Wainscoting
- Shaker Wainscoting
- The eleven geometric patterns
- Scaled elevation, every board numbered
- Full cut list, long point, to the sixteenth
- Numbered install order with build steps
- Print-ready PDF, no watermark
Design free in every style. You only pay when you want the plan printed.
Real walls, built from these plans
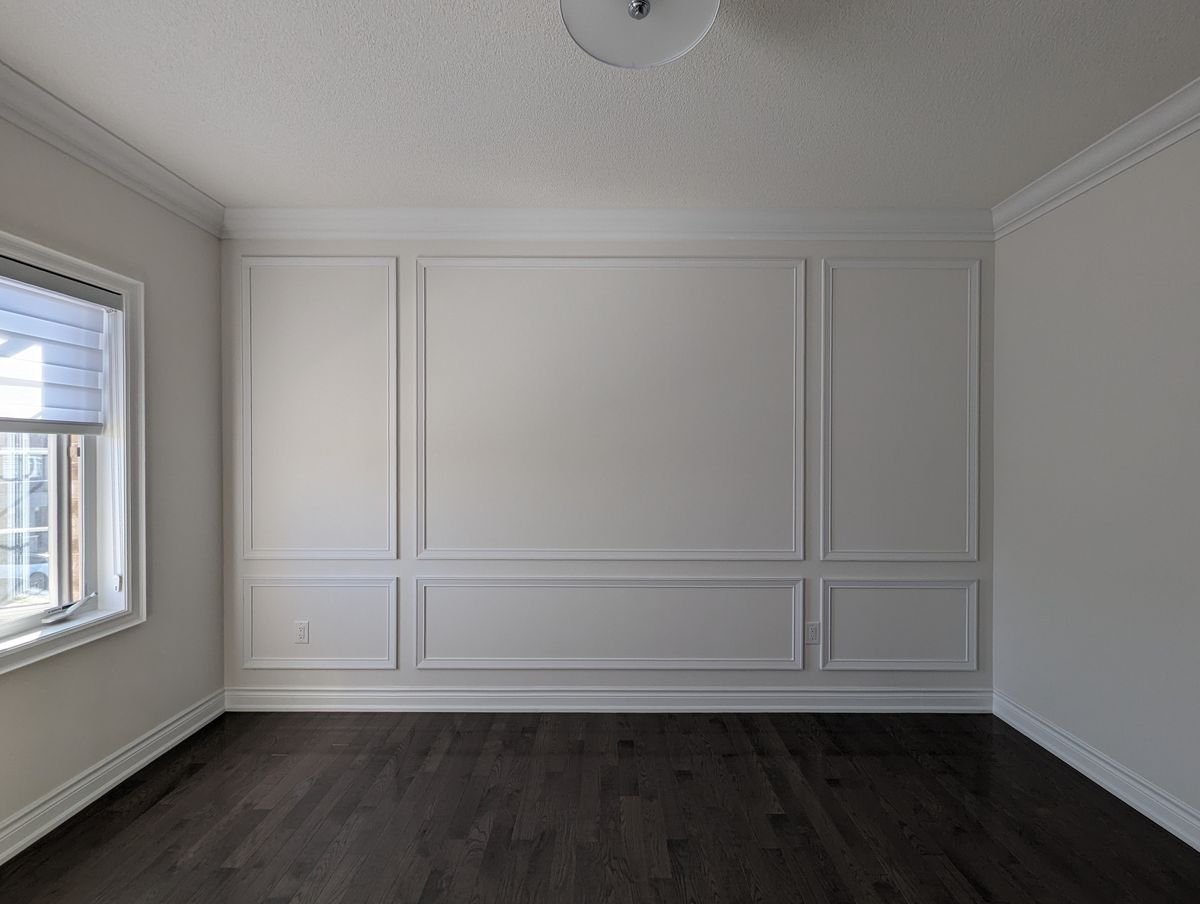
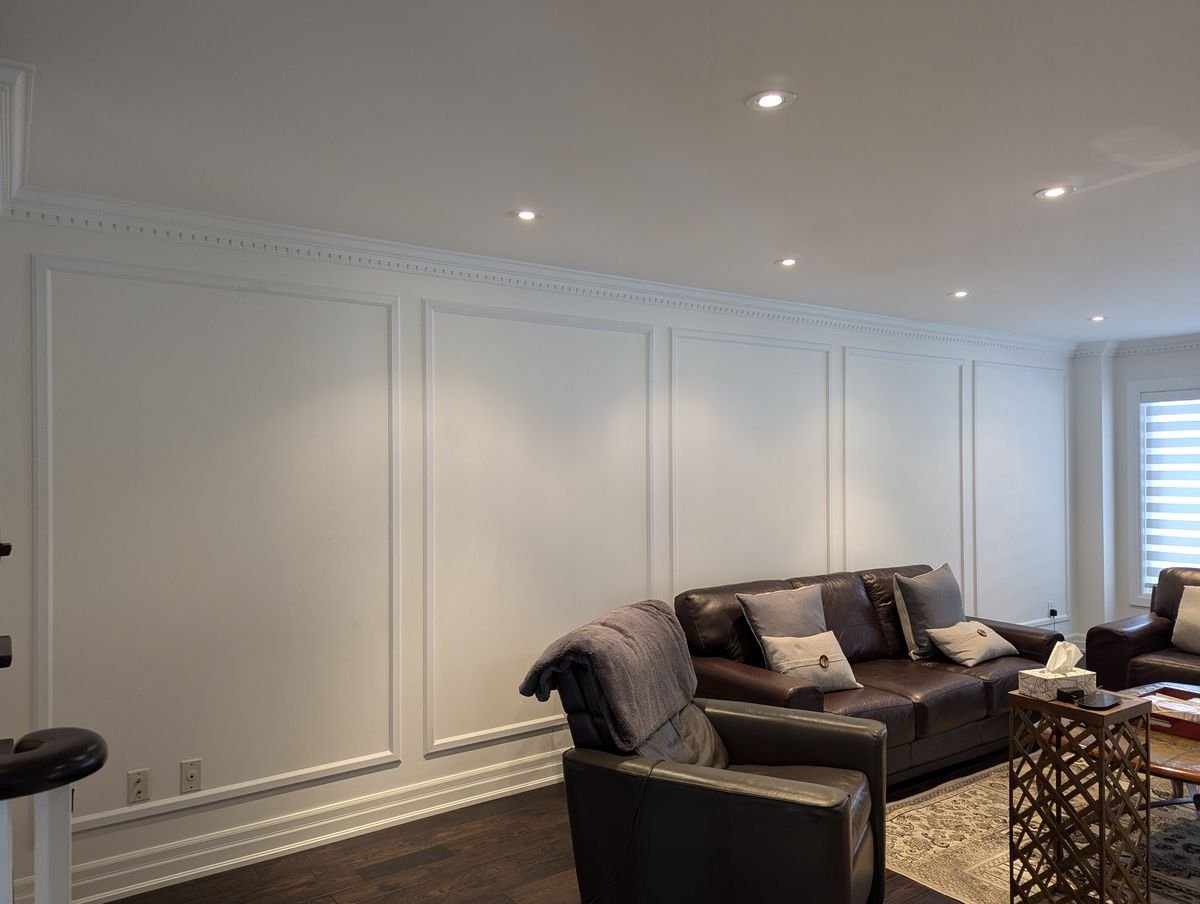
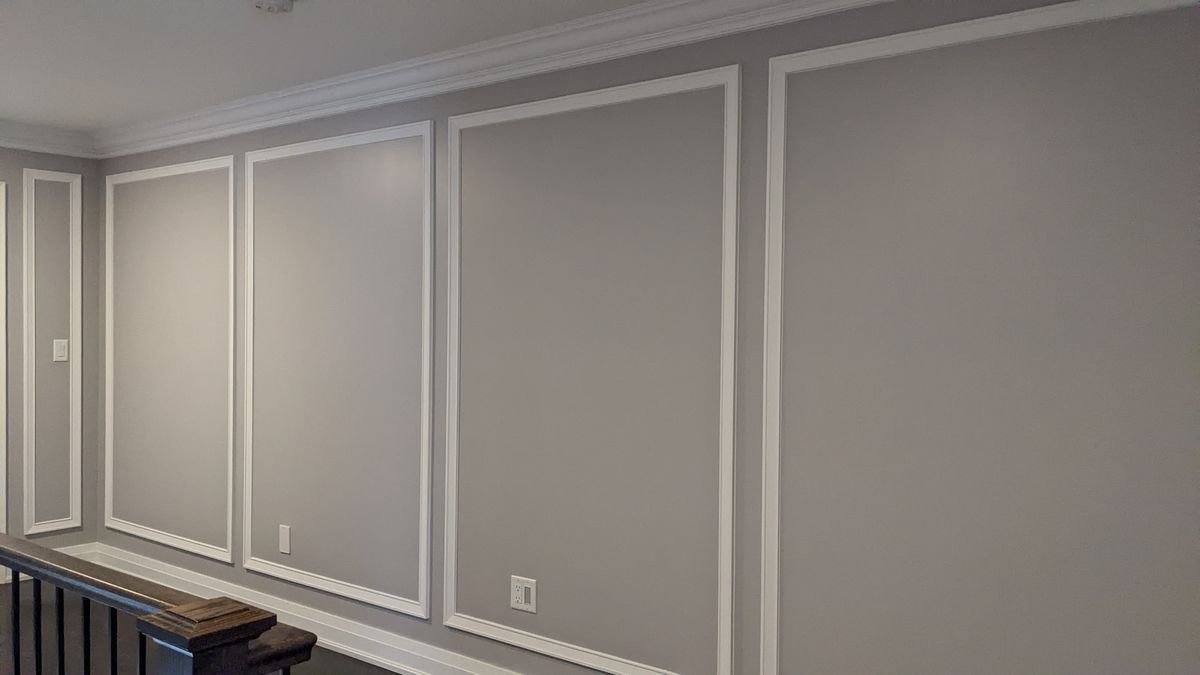
How to build it
Panel moulding is trim run into rectangles on a flat wall: four sticks, mitered at the corners, glued and pinned into a box, repeated at even gaps. The cutting is quick and the material is light. The layout is the part people get wrong, and it is the part the calculator above does for you.
What to buy, and what to cut it with
Panel moulding is a small profiled trim, and it goes by more than one name at the store: panel moulding, base cap, picture frame moulding. Any of them builds these boxes. The profiles differ in the shadow they throw, not in how they go up, so pick the one that looks right to you at arm's length.
Primed MDF or finger jointed pine for a painted wall. Both come primed, both take paint cleanly, and neither has knots to bleed through. Poplar or oak if the wall will be stained, which is rare for this style but not wrong.
Then measure what you bought. The width on the label is close, not certain, and profiles vary from store to store. Put a tape on the face of the moulding, read the width, and type that number into the box above. The calculator starts at 1 5/8″, which is a common panel moulding width and the designer's own default, and every box on the drawing follows whatever width you give it.
Tools. A short list, and most of it is finish work.
- A mitre saw, or a hand saw and a mitre box. Every cut on this wall is the same 45 degree setting.
- A brad or pin nailer. The sticks are light, so small pins do the job; hammering bends this stock.
- A level, the longer the better. The layout lives and dies on level lines.
- Construction adhesive. The glue is the fastener here; the pins just hold the stick while it cures.
- Tape, pencil, and a scrap of the moulding cut to the gap width, from the marking section below.
- Filler, caulk, sandpaper, and paint. The finishing is most of the calendar time.
Where the box sizes come from
One gap runs the whole wall: between box and box, box and baseboard, box and ceiling, box and wall end. The calculator takes that gap, subtracts it from the wall, and splits what is left into equal boxes. That is the entire trick, and it is also why a wall of boxes laid out by eye reads wrong: the eye catches one uneven gap across a room.
Leave the column box empty and the calculator picks the count: it packs the wall with boxes around thirty inches wide, evens them out exactly, and never draws a box narrower than 6″. Type a column count to force the matter. On an odd count you can also set the middle box's width, and the boxes either side split what is left evenly.
Rows stack the same logic vertically. One row of tall boxes reads modern and makes a low ceiling feel taller. Two rows reads traditional, and the bottom row takes the height you set — 23″ out of the box — while the rows above split the rest evenly. Three rows wants a tall wall, and the calculator will refuse rows the wall cannot hold rather than draw boxes too small to read as frames.
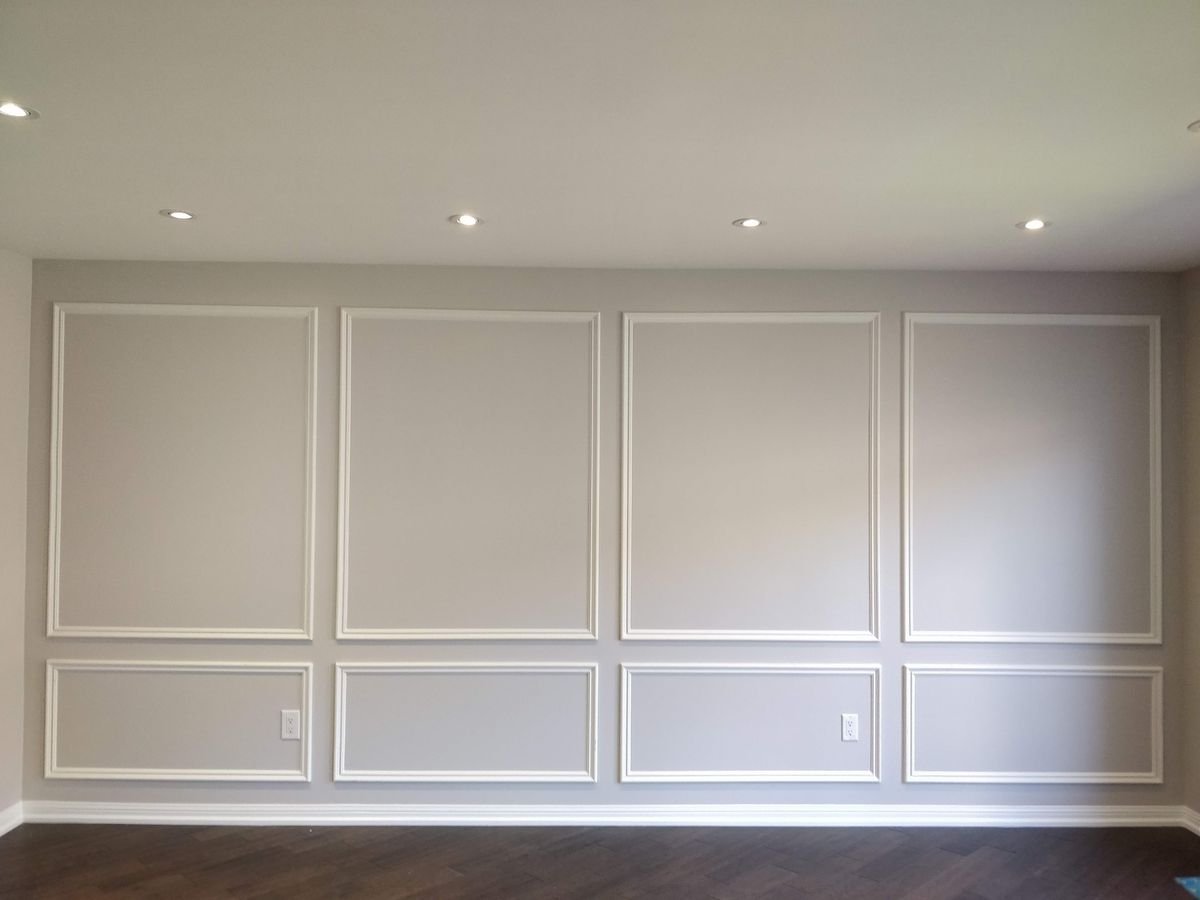
Mark the wall first, not the moulding
Lay the wall out before a single stick is cut. Take the box corners off the plan, mark them on the wall, and connect the marks with a level. Floors and ceilings are not level; your lines have to be, because a box that follows a crooked ceiling reads crooked forever.
Cut a scrap of your moulding stock to the gap width and use it as a spacer wherever two pieces meet the same line. One stick of known width beats reading the same fraction off a tape forty times.
If you want to see the wall before you commit, run painter's tape where the boxes will go. It takes minutes, and a layout that looks tight on a drawing sometimes wants one fewer box in the room. Change the number above, print the new plan, and nothing is wasted.
Every corner is a 45
Each box is four sticks, and every stick gets a 45 degree cut on both ends, angled toward each other like a picture frame. Set the saw to 45 once and leave it there for the whole wall.
Every length on the cut list is a long point: the distance between the two long tips of the miters, which is the outside edge of the stick and the outside edge of the box. Cut to the long point and the profile wraps each corner exactly. Cut short and the box shrinks by twice the error, so if you are unsure, cut a hair long and shave the second pass.
Glue and pins
Run a thin bead of construction adhesive down the back of each stick, set it to the line, and pin it. The pins are clamps: they hold the stick flat while the glue cures, and the glue carries the box afterward. There is no need to find studs for trim this light.
Wipe squeeze-out straight away with a damp rag. Dried adhesive under paint reads as a lump, and it sands badly.
The trade-off is permanence: adhered moulding comes off with the drywall paper attached. On a rental, pins alone will hold boxes this light, and the wall patches back to flat when you leave.
Dry fit on the bench
Cut one box's four sticks and stand them together flat on the bench or the floor before anything touches the wall. The miters should close with no daylight. If a corner gapes on the outside, the cut ran long; on the inside, short. Adjust and recut on scrap until the frame closes, then cut the rest of the wall to the proven settings.
Some carpenters glue each frame up flat, let it cure, and hang the finished box on the layout lines as one piece. It is easier to keep square on a bench than on a wall, and worth it on narrow boxes. Stick-building on the wall is faster on big boxes, where a pre-built frame goes floppy in your hands.
Fill, caulk, then paint
Fill the pin holes, sand flush, then caulk the outside and inside edges of every stick where moulding meets drywall, and each miter if it shows a line. Thin bead, smoothed with a damp finger while it is wet.
Caulk before primer, always. Caulk over finished paint stays visible forever, and this style lives or dies on clean lines.
Where panel moulding comes from
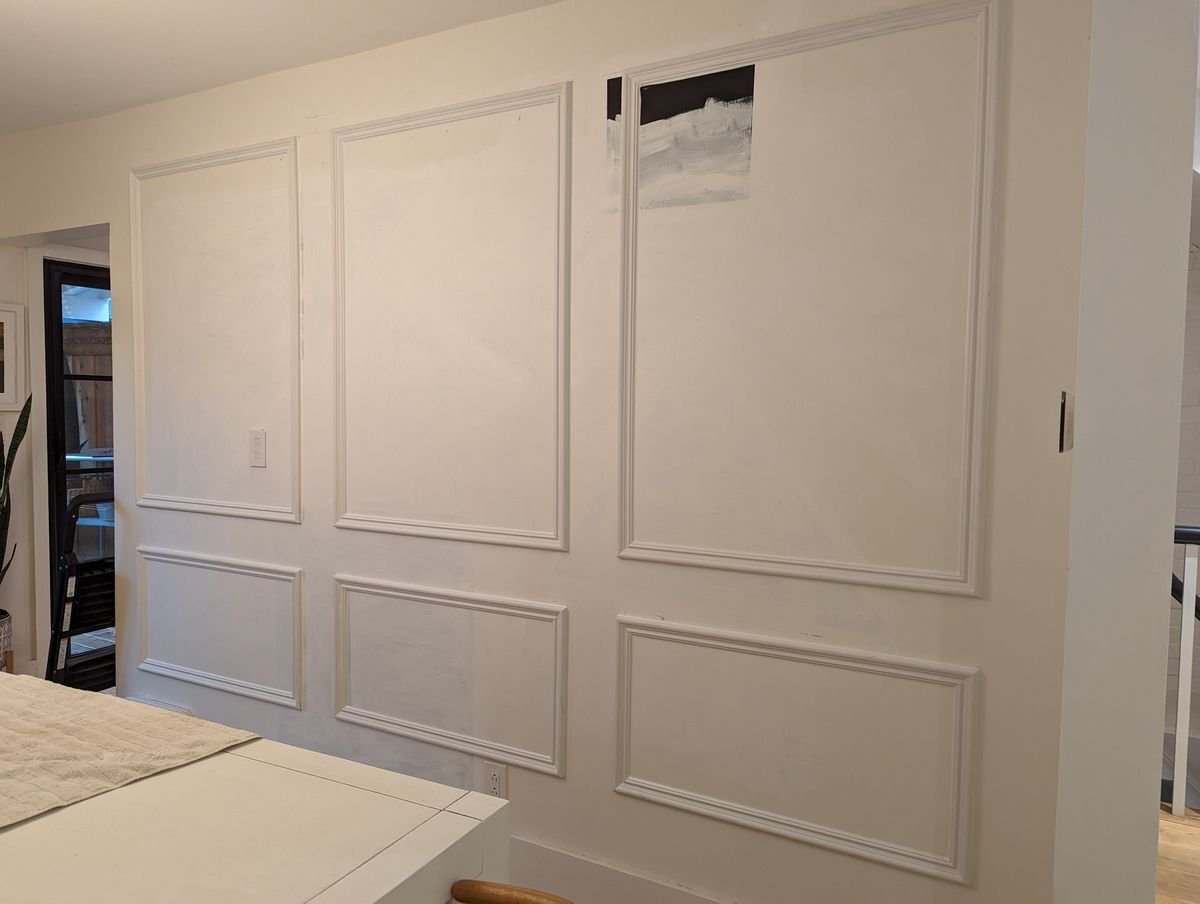
The boxes are the ghost of real panelling. In older plaster construction, walls were finished in raised wood panels held by rails and stiles, and a small moulding covered the joint where panel met frame. When walls became flat drywall, the panels and frames disappeared, and what stayed behind was the little moulding, run in rectangles where the panel edges used to be. The name and the look outlived the carpentry.
That is why the style carries no load and asks nothing of the wall but flatness, and why it goes anywhere: hallways, stairwells, dining rooms, bedrooms, the tall wall over a stair. It is also why the boxes read formal in a way battens do not. The eye reads the rectangles as panelling, even on a wall that has none.
Whether it reads period or modern is in the finish, not the cuts. Two colours, wall and moulding apart, is the traditional read. One colour over everything, boxes, wall and baseboard alike, is the modern one. The saw does not know the difference.
Common questions
What size should the boxes be?
There is no fixed size, and matching a chart is not the goal. Left alone, the calculator packs the wall with boxes around thirty inches wide and evens every box out so the wall reads balanced; type a column count to force the matter.
Fewer, wider boxes read calm and modern. More, narrower boxes read busier and more traditional. The floor is six inches: the calculator never draws a box narrower than that, because a frame that narrow reads as a mistake. Put your own wall width in the boxes above and compare a few counts before you buy anything.
What is the gap between the boxes supposed to be?
One number controls all of it: the space between boxes, the space above the baseboard, the space below the ceiling, and the space at each end of the wall. The calculator starts it at three inches and uses the same number everywhere, which is what makes a wall of boxes read deliberate.
Widen the gap and the boxes shrink; tighten it and they grow. Whatever you pick, keeping it uniform matters more than the number itself.
What moulding do I use, and how wide?
Any profile sold as panel moulding, base cap, or picture frame moulding does the job; they differ in shadow line, not in strength. Primed MDF and finger jointed pine are the usual choices for a painted wall, and poplar takes stain.
What matters to the layout is the face width, so measure the moulding actually in your hand and type that number in the box above. The calculator starts at one and five eighths inches, and the drawing and the cut list follow whatever width you give it.
Do the corners have to be mitered?
Yes. Every stick on the cut list is cut at forty five degrees on both ends, and every length is given long point to long point, so the list reads straight off the saw. Set the saw once and leave it there for the whole wall.
Butt joints do not work on a profile: the shaped face only wraps a corner when two profiles meet on a miter, and a square cut leaves end grain showing at every corner.
How do the frames attach to the wall? Do I need to hit studs?
No studs needed. Panel moulding is light, so a bead of construction adhesive on the back and a few pins per stick hold it flat while the glue cures, and the glue does the holding after that. The pins mostly stop the stick from drifting while you work. On plaster, lean on the adhesive and use the pins sparingly.
The cost is the usual one with glue: taking the boxes off later tears the paper face of the drywall.
What do I do about outlets and switches inside a box?
If an outlet lands inside a box, nothing changes: the frame surrounds it and the outlet sits in the open field, which nobody reads as a mistake. The problem case is an outlet landing on the frame line itself.
Shift the layout a little so the line clears the device, or let the designer handle it: it routes the frame around the device and puts the extra sticks on the cut list. A stick notched around an outlet by eye always reads as a repair.
Can I do this on a textured wall?
Yes, with the same two honest options as any applied moulding. Skim coat the wall flat first, which is the proper fix and adds days of work, or run the moulding over the texture and caulk both edges of every stick.
Light texture disappears under caulk and paint. Heavy texture does not, and it will telegraph through the open field inside each box, where no caulk can reach. If the texture is heavy, skim at least the wall you are framing.
One row of boxes or two?
Full height in a single row is the modern read: tall boxes running from above the baseboard to just under the ceiling. Two rows reads more traditional, and three rows suits a very tall wall. The calculator draws one, two, or three rows with the same gap between everything; on two or three rows the bottom row takes the height you set, and the rows above split the rest evenly.
If what you actually want is boxes under a chair rail, that is picture frame wainscoting, a different style with its own controls in the designer.